WordPress needs to perform periodic tasks in the background, such as checking for updates and performing cleanups. This system is called WP-Cron.
Out of the box, WordPress will execute these periodic tasks when someone opens the website. This is good, because it means you can run WordPress without having to set up anything else to make sure these tasks are executed. The downside is that it can make opening the website for the first time very slow.
Fortunately, you can run the WordPress background tasks using the InfinityFree Cron Jobs system. This ensures that background tasks will get executed even if nobody is accessing your website for a while. And when someone does visit your website, your site will load quickly.
Setting up the Cron Job
The first thing to do is to set up the Cron Job.
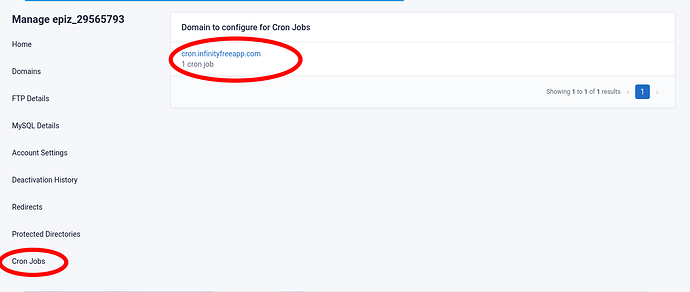
You can find the Cron Jobs menu by finding your account in the client area, and go to Cron Jobs in the sidebar:
Then, set up a new cron job. You can do so through the setup form:
In this form, you’ll want to pay attention to a few settings:
- Select the right domain prefix. In this example, WordPress is configured to run on the base domain (no www subdomain), and does not have HTTPS set up. Please select the right prefix for your website, because redirects are not followed.
- Enter wp-cron.php as the URL. If you have WordPress installed to a subdirectory, e.g.
example.com/blog/, enterblog/wp-cron.phpin this field. - Select the schedule. It doesn’t really matter and every fifteen minutes is fine for most WordPress sites. Running it more often means tasks are handled more quickly (which may be relevant for some plugins), but it will consume more server power, so it’s not a good idea to run the cron jobs more often than necessary.
Then, click Add Cron Job and that’s it!
Verify the Cron Job ran successfully
After setting up the cron job, it’s a good idea to verify it ran correctly. You can do so by clicking the Show Logs button from the cron job list.
On that page you’ll find a list of when the cron job was executed.
If the logs say the status code is 200 and the message says “OK”, it means the cron job was executed successfully.
If the status code is something else, it may indicate an issue with your website or the URL of the cron job. If the URL is returning a redirect, the URL the redirect is pointing to will be shown instead.
Disable built-in WP-Cron
After setting up the cron job and having confirmed it works, you can disable the built-in WP-Cron scheduler to make sure no visitor will be slowed down by it.
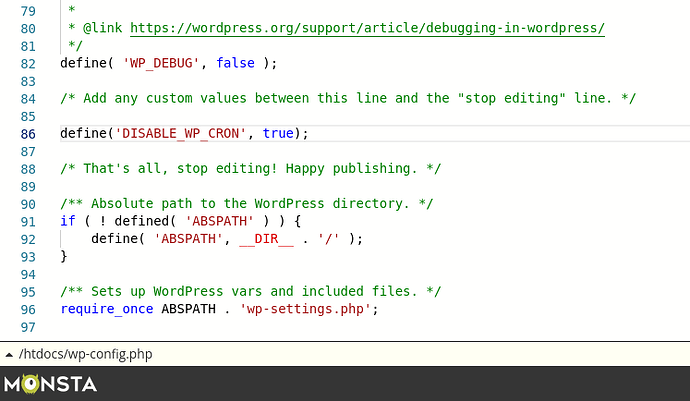
To do so, you’ll need to make a modification to the configuration file of WordPress: wp-config.php.
You’ll need to add the following line to the file:
define('DISABLE_WP_CRON', true);
For example:


