Have you thought about making your site an app?
You probably don’t want to deal with Java/Kotlin or Applescript to make an app for your users, but you want to get that sweet-sweet-beautiful program on your site to work outside of that clumsy browser.
Well, there is a way! If you want to make your site an app, you can make a Progressive Web App!
Wait, what’s a Progressive Web App?
A Progressive Web App (PWA) is a website that works like a mobile app on your phone or tablet. You can install it directly from your web browser without going through an app store, and it will appear on your home screen just like a regular app. PWAs work even when you have a slow internet connection, sending you notifications and loading quickly because they store some data on your device. They’re built using standard web technologies but feel smooth and responsive, almost indistinguishable from native apps. Best of all, one PWA works across all your devices—iPhone, Android, laptop, or desktop—without needing separate versions for each platform.
Wow, that’s cool! I want to make my site a PWA, how do I do that?
Here’s what you’re going to need:
- Your site code (you already got this, but if you don’t, you can ask an AI to make one.)
service-worker.jscode, in the root of the site/page you want as a PWAmanifest.jsoncode- Two
pngfiles for the app logo -icon-192.png(192px by 192px) and 2.icon-512.png(512px by 512px) - An HTTPS connection
This tutorial will provide you with the basics you need to start your own PWA.
Please note: This tutorial will provide the basics to PWA, but you may need to research or use a helper to make it suit your needs. If all you want to do is make a static page, this tutorial will cover that.
Also, due to the Security System, the PWA will need Internet Access sometimes. When the Security System’s cookie expires, the servers have to issue a new cookie.
Step 1: Prepare your site code
Your site’s HTML or PHP file needs to contain:
-
<script> if ('serviceWorker' in navigator) { navigator.serviceWorker.register('/service-worker.js') .then(registration => console.log('Service Worker registered')) .catch(error => console.log('Service Worker registration failed:', error)); } </script> manifest.json, but there’s a catch I’m going to have to tell you about shortly.
Where do I put it?
The <script> must be added where ever you would like your JS code. (I prefer it at the bottom, before </body>.)
So far, your code should kind of look like this:
<head>
 <!-- You're going to need the head in a minute -->
</head>
<body>
  <p>Hello World</p>

  <script>
    if ('serviceWorker' in navigator) {
      navigator.serviceWorker.register('/service-worker.js')
        .then(registration => console.log('Service Worker registered'))
        .catch(error => console.log('Service Worker registration failed:', error));
    }
  </script>
</body>
</html>
Now, about the manifest.json thing.
Unfortunately, due to the Browser Security System, you can’t just copy/paste manifest.json into its respective file. If you do, you’ll get this when it loads:
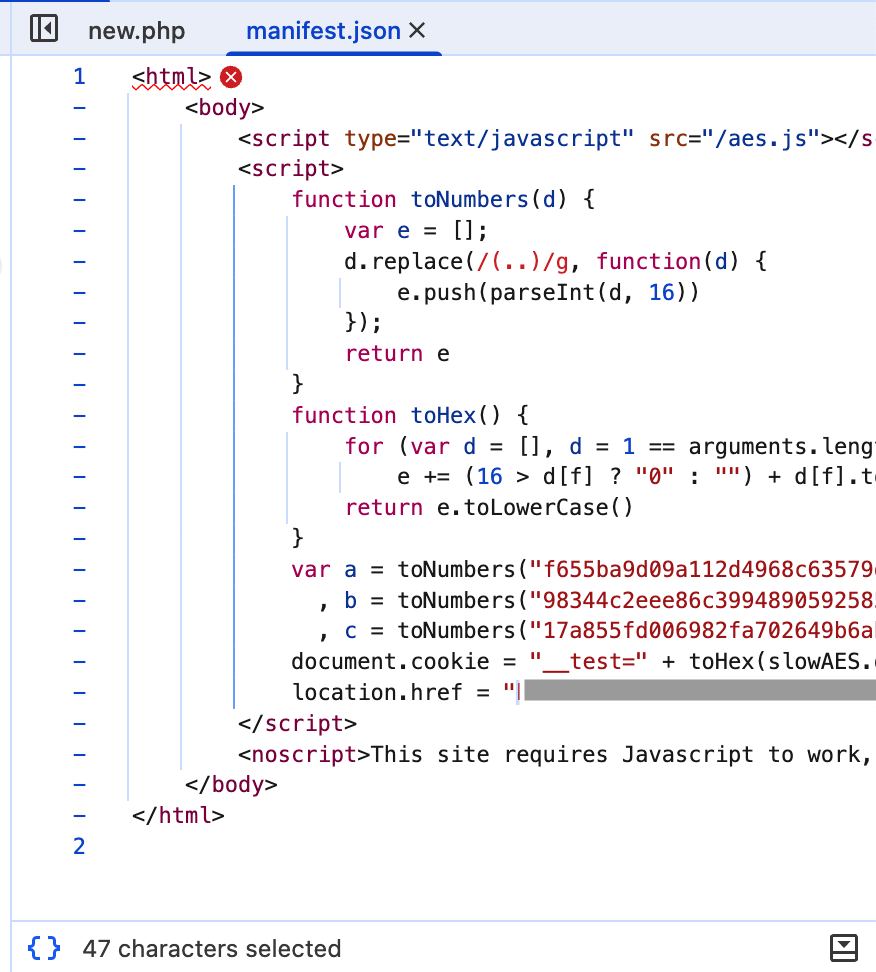
That’s the Security System.
But wait! There’s still a way to get your manifest to load!
You have to put a JS script in the <head> of your code! This code will generate the manifest.json in a blob, and your browser will find it.
You’ve got to add this in (after modifying placeholders):
<script id="manifest-placeholder"></script>
<script>
    // Get the base URL dynamically
    const baseUrl = window.location.origin;
    const basePath = '/[remove if your code is at the root, or add the directory]';

    const manifestData = {
        "name": "[Site/App Name]",
        "short_name": "[Site/App Name, shortened if needed]",
        "description": "[Site/App Description - When the user hovers their cursor over the icon in Windows, this will show. This is just an example of why this is needed]",
        "start_url": baseUrl + basePath + "/[your site's file - index.html, index.php, what ever it is]",
        "scope": baseUrl + basePath + "/",
        "display": "standalone",
        "background_color": "#1f2937 [Hex color, change as needed]",
        "theme_color": "#3b82f6 [Hex color, change as needed]",
        "orientation": "any",
        "icons": [
            {
                "src": baseUrl + basePath + "/icon-192.png",
                "sizes": "192x192",
                "type": "image/png",
                "purpose": "any maskable"
            },
            {
                "src": baseUrl + basePath + "/icon-512.png",
                "sizes": "512x512",
                "type": "image/png",
                "purpose": "any maskable"
            }
        ]
    };

    const stringManifest = JSON.stringify(manifestData);
    const blob = new Blob([stringManifest], {type: 'application/json'});
    const manifestURL = URL.createObjectURL(blob);

    const manifestLink = document.createElement('link');
    manifestLink.rel = 'manifest';
    manifestLink.href = manifestURL;
    document.head.appendChild(manifestLink);
</script>

    <meta name="theme-color" content="#3b82f6 [Hex color, change as needed]">
    <meta name="mobile-web-app-capable" content="yes">
    <meta name="mobile-web-app-status-bar-style" content="black-translucent">
    <meta name="mobile-web-app-title" content="[Site/App Name]">
    <link rel="touch-icon" href="/icon-192.png">
After adding and modifying all of that, you’ll get something like:
Click to expand
<html>
<head>
<script id="manifest-placeholder"></script>
<script>
    // Get the base URL dynamically
    const baseUrl = window.location.origin;
    const basePath = '/';

    const manifestData = {
        "name": "Testing PWA",
        "short_name": "PWA",
        "description": "Testing the functionality of a PWA",
        "start_url": baseUrl + basePath + "/index.html",
        "scope": baseUrl + basePath + "/",
        "display": "standalone",
        "background_color": "#1f2937",
        "theme_color": "#3b82f6",
        "orientation": "any",
        "icons": [
            {
                "src": baseUrl + basePath + "/icon-192.png",
                "sizes": "192x192",
                "type": "image/png",
                "purpose": "any maskable"
            },
            {
                "src": baseUrl + basePath + "/icon-512.png",
                "sizes": "512x512",
                "type": "image/png",
                "purpose": "any maskable"
            }
        ]
    };

    const stringManifest = JSON.stringify(manifestData);
    const blob = new Blob([stringManifest], {type: 'application/json'});
    const manifestURL = URL.createObjectURL(blob);

    const manifestLink = document.createElement('link');
    manifestLink.rel = 'manifest';
    manifestLink.href = manifestURL;
    document.head.appendChild(manifestLink);
</script>

    <meta name="theme-color" content="#3b82f6">
    <meta name="mobile-web-app-capable" content="yes">
    <meta name="mobile-web-app-status-bar-style" content="black-translucent">
    <meta name="mobile-web-app-title" content="Testing PWA">
    <link rel="touch-icon" href="/icon-192.png">

</head>
<body>
  <p>Hello World</p>

  <script>
    if ('serviceWorker' in navigator) {
      navigator.serviceWorker.register('/service-worker.js')
        .then(registration => console.log('Service Worker registered'))
        .catch(error => console.log('Service Worker registration failed:', error));
    }
  </script>
</body>
</html>
Your site code is prepared for a PWA, but now you’ve got to add the rest!
Step 2: Add service-worker.js
The service worker helps tell the browser what to cache, load and do. This service-worker.js is a basic one, but for this tutorial it works.
Here’s what you need to add to a new service-worker.js file (after modifying placeholders):
const CACHE_NAME = '[cache-name, like hello-world-v1]';
const urlsToCache = [
  '/',
  '/[your site's main file, index.html/index.php/what ever it is]'
[whatever else you need to cache, like CSS files, JS files, .html or .php files (Make sure to add a comma before adding a new entry!)]
];

// Install event - cache files
self.addEventListener('install', event => {
  event.waitUntil(
    caches.open(CACHE_NAME)
      .then(cache => cache.addAll(urlsToCache))
  );
});

// Fetch event - serve from cache when offline
self.addEventListener('fetch', event => {
  event.respondWith(
    caches.match(event.request)
      .then(response => response || fetch(event.request))
  );
});
Example
const cacheme = 'hi-v1';
const urlsToCache = [
  '/',
  '/index.html'
];

// Install event - cache files
self.addEventListener('install', event => {
  event.waitUntil(
    caches.open(cacheme)
      .then(cache => cache.addAll(urlsToCache))
  );
});

// Fetch event - serve from cache when offline
self.addEventListener('fetch', event => {
  event.respondWith(
    caches.match(event.request)
      .then(response => response || fetch(event.request))
  );
});
Step 3: Prep the pngs
What you are going to need:
icon-192.png(192px by 192px)icon-512.png(512px by 512px)
If you need an image editor to make these, I recommend Kleki. Kleki is made to run in the browser, it’s open source, and it’s easy to use.
If you need some pngs, here are the sized ones for testing (click on them, then hit Download):


Step 4: Test your PWA
If everything works out, you should see an icon like this in your toolbar:
![]()
When clicked, you should see something like:

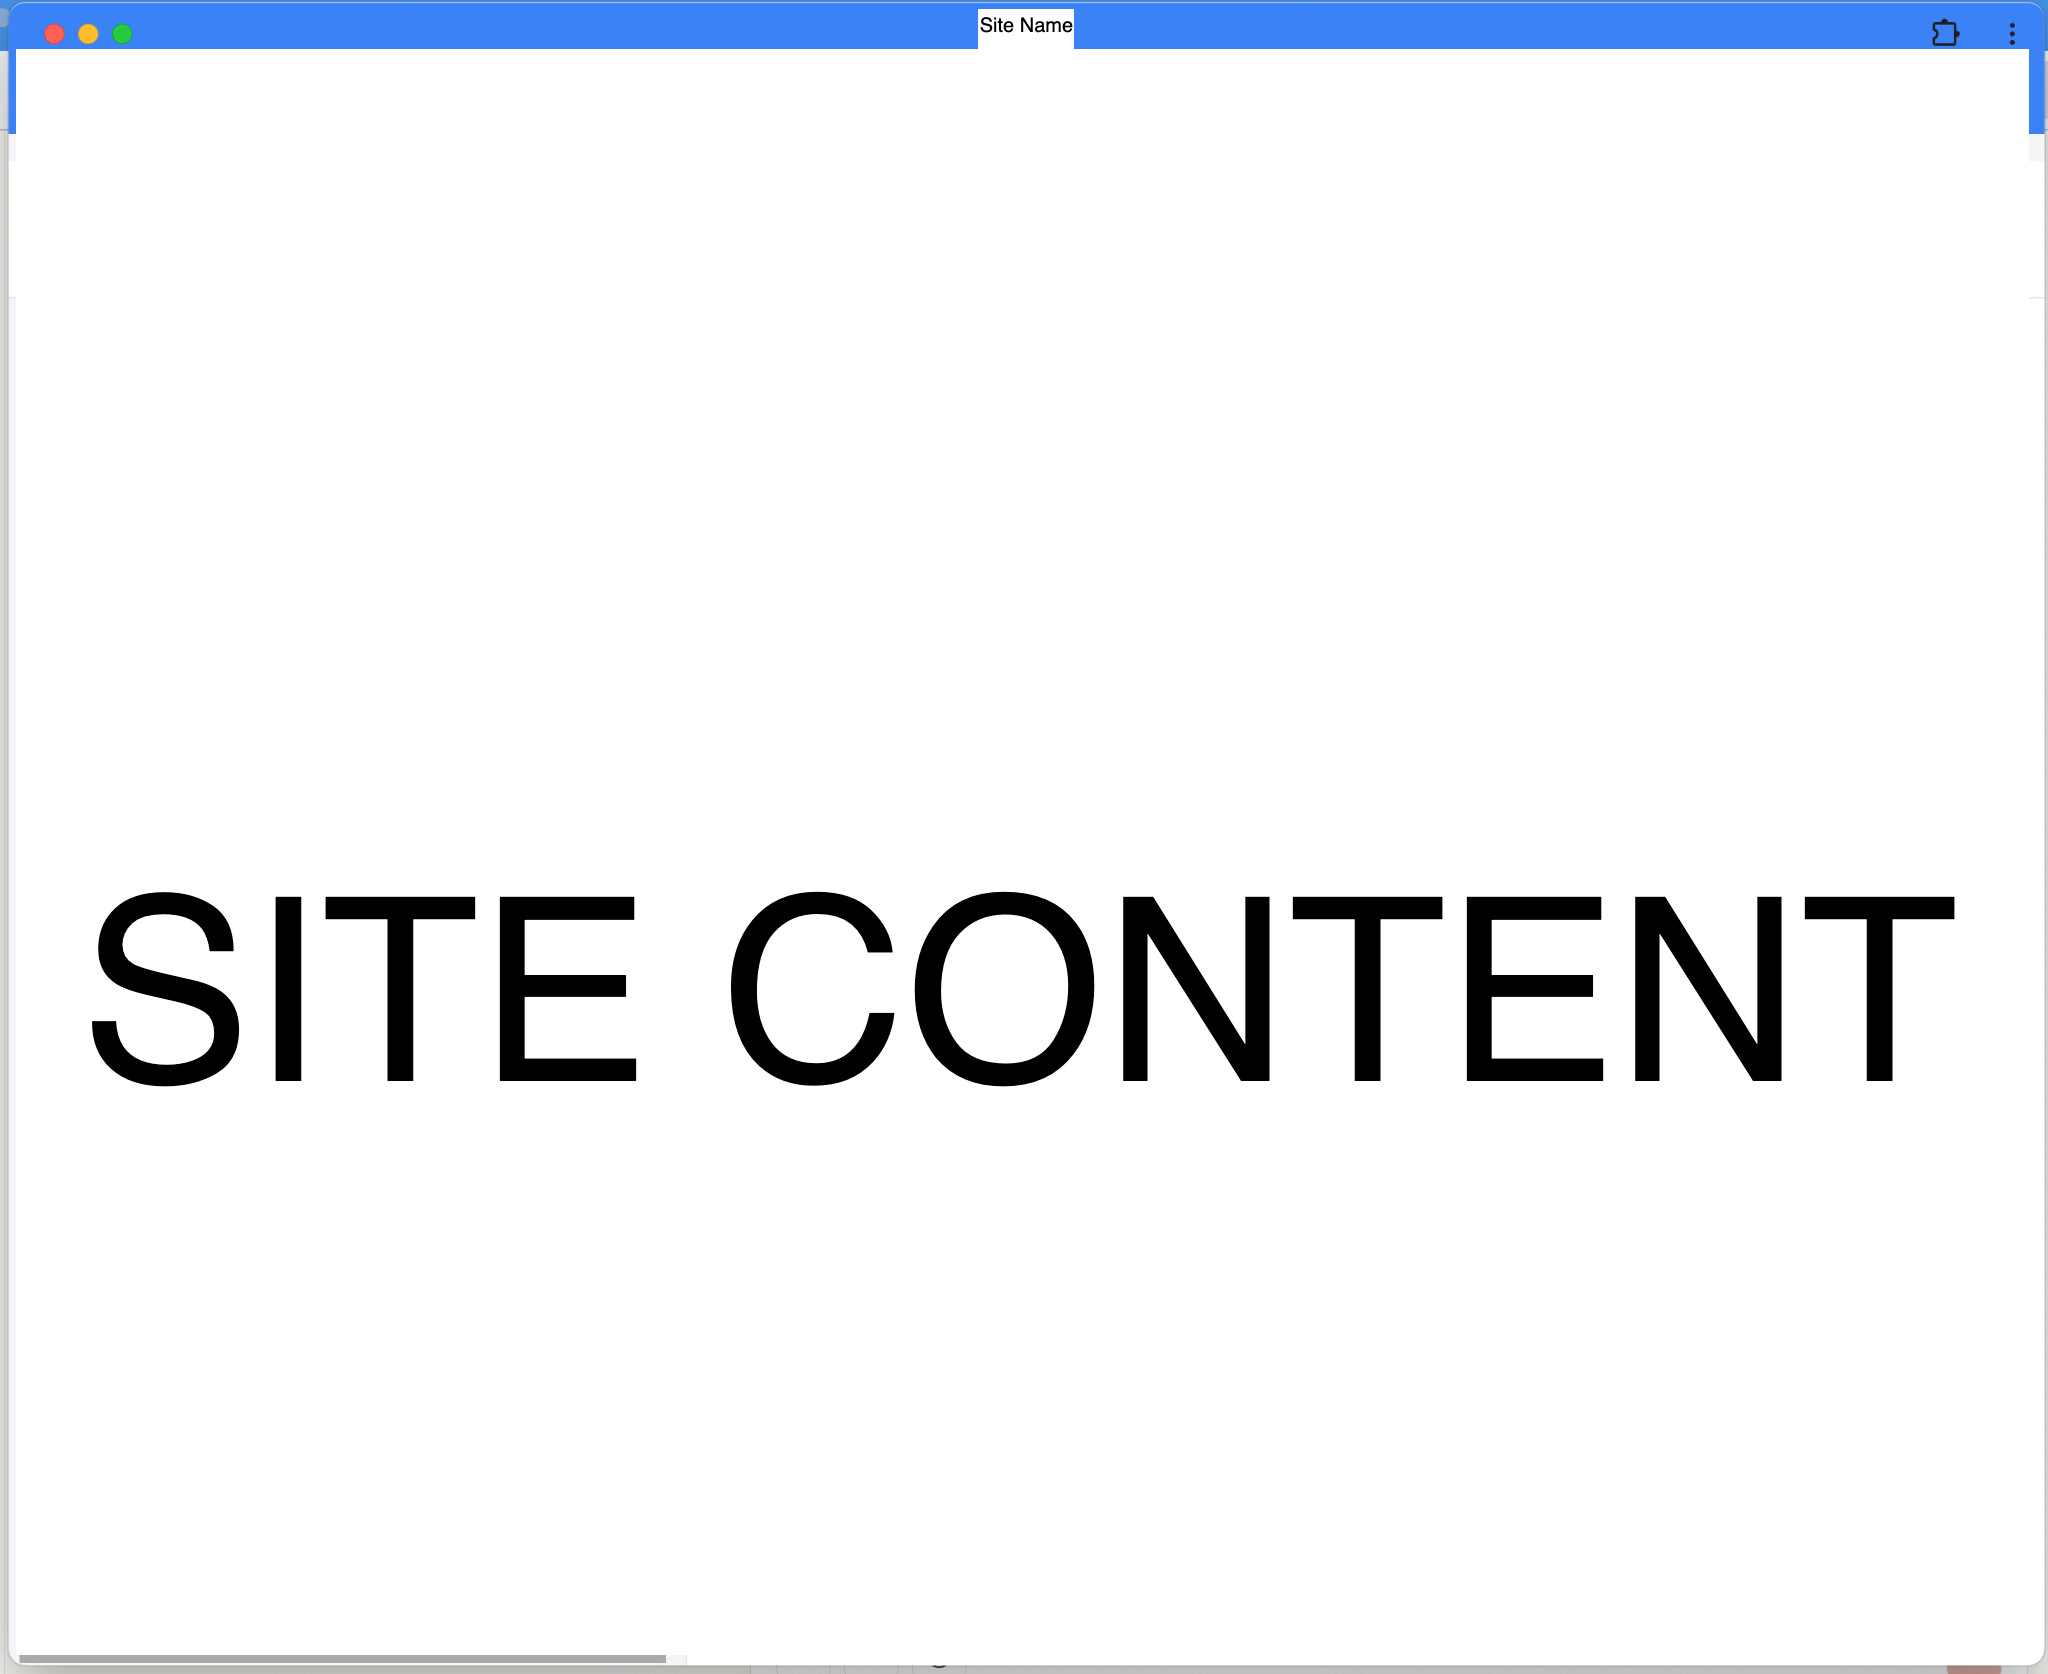
When installed, you should see something like:
For app icon:

If this all worked out:
Congrats! You just made a PWA!
You can now brag about your site being an app, and enjoy the app-like experience!
If any issues arise related to this PWA tutorial, comment below. All other questions should be sent to either Hosting Support or Informal.
Thanks for following this tutorial! If it worked out for you, give it a ![]() !
!